
Today, Google Docs has become a necessity if you have to write a long text digitally. There was a time when people used to use an offline MS office, but these days, nobody bothers to use it. Everybody is after Google Docs and it has a bunch of reasons for that. First of all, it is incredibly easy to use and widely accessible. Its cloud-based accessibility makes it extremely handy for users.
Generally, it is used for writing personal as well as professional docs files. The tool has a bundle of features that simplify your work and make things easier for you. Like you can add a custom text box in your Google doc file and make it more appealing. If you wonder how to insert a text box in Google Docs, read on further and get all the details.
Table of Contents
How to Add a Textbox in Google Docs
Despite having an easy user interface sometimes, it becomes a little tricky to add a text box in Google Docs. Even if you are an expert in this remarkable Google software, at times, you just can’t get to the point. So, are you in that situation?
Are you also using this awesome tool and stuck on how to insert a text box in Google Docs? Well, then you have landed in the right place. Today, we are going to talk about different ways to insert a text box in Google Docs. We will cover step-by-step guides for web as well as mobile versions.
How to Insert a Text Box in Google Docs on Your Computer
There are two ways to insert a text box in Google Docs on your computer. Here, we will talk about both of them in detail.
Method One: Using ‘drawing tool’ to Add a Text Box in Google Docs
If you actively use Google Docs, you would definitely know that there is an option named drawing tool. With the help of that, you cannot just draw shapes like you do in paint and PowerPoint but also add text in Google Docs. To perform this, you need to follow the below steps.
Step 1 – Open Google Docs document on your computer.

Step 2 – Navigate to the menu bar and click on ‘insert’. As you will click on it, you will see a drawing option. Click on it and then select ‘new’.
Insert > drawing > new

Step 3 – As the new drawing dialogue box opens, you will see the text box icon at the top of it ( this will look like a box written ‘T’ in the middle). Now, click on it.

Step 4 – Move the cursor to the center and draw your desired shape for the text box. You can do this by dragging your cursor.
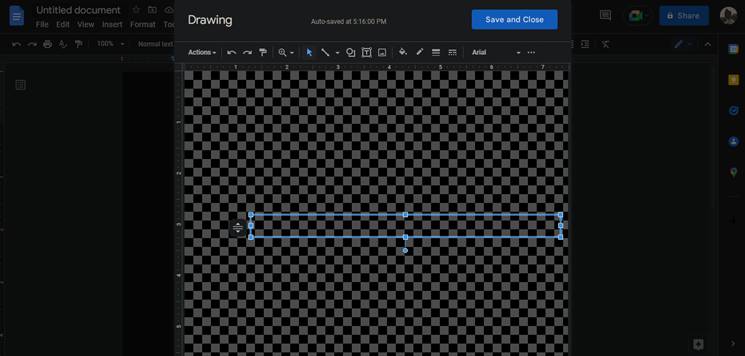
Step 5 – After you’re done drawing the box, double-click on it. Now, you will see the blinking cursor inside the box. Here, you are ready to go. Just enter your text inside it.

Step 6 – Once you have written the text (whatever you have to write), click on the ‘save and close’ option that you can see at the top of that page.
That’s it. You just need to follow these six steps to insert a text box in Google Docs with the help of the drawing tool.
Special Notes
- While inserting a text box in Google Docs with the help of the drawing tool, you have the flexibility to customize the background color, border, and other things of that text according to your needs.
- To customize the text box, click on the three dots that are on the top of the page and open the extended toolbar. Here, you will see the options to edit border color, border weight, filling color, font, text formatting, and many other options.
- Also, you can edit that text box anytime. Just select the whole box and you will see the edit option right below there. Click on it and get started.
Method 2: Using ‘table tool’ to Insert a Text Box in Google Docs
Using this method to insert a text box in Google Docs is a bit difficult and unconventional. However, you can try it when no other ways are working. This method seems more difficult and time-consuming because, first, you have to draw a single-cell table and then insert the text inside it.
Follow the below-mentioned steps to insert the text box in Google Docs with the help of the table tool.
Step 1 – Open Google Docs on your computer.
Step 2 – Again, navigate to the menu bar and click on insert. Right above the drawing option, you will see the ‘table’ option, click on it, and then select a single cell (1*1).
Insert > table > single cell

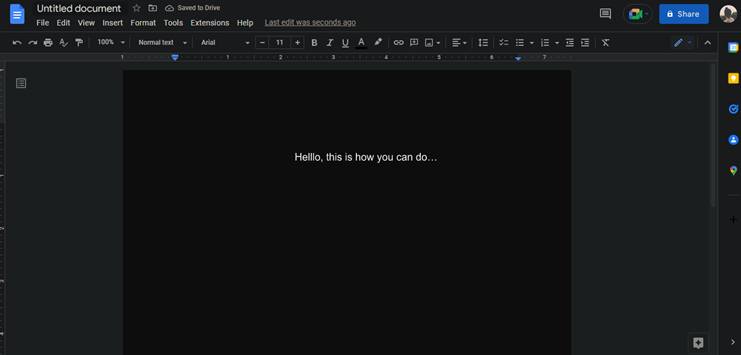
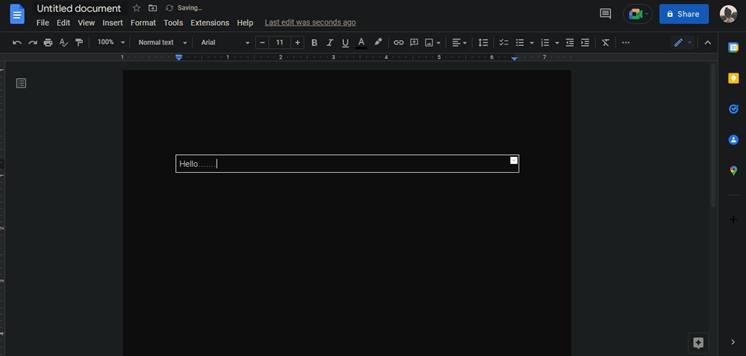
Step 3 – After you have selected a single cell table, it will be added to your doc file. It will look like a generic text box.

Step 4 – Click on the cell and start typing your text inside it.
Step 5 – To remove the borderline of the table, here you have to go a step further. What you have to do is to select the whole table and click on that border width option. You will find this option in the menu bar. Look at the below screenshot for a better understanding.

Step 6 – After clicking on three dots, click on the border width option.
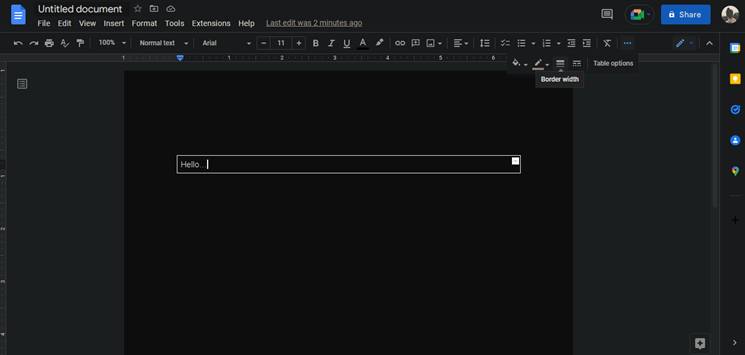
Step 7 – Here, you will see 1pt is selected. What you have to do is to select 0pt and the border will be invisible.

So these 7 steps you need to follow If you are using the table method to insert a text box in Google Docs. Inserting a table seems a little difficult but the whole process is incredibly easy.
Special Notes
- You can further customize the text like its color, border color, text formatting, font size, and other things with the standard formatting toolbar.
- In addition, you can also customize the size, height, and width of the table by selecting the border and dragging it in any direction.
Inserting Text Box in Google Docs with Your Mobile
If your laptop is not accessible to you or you willingly want to insert a text box in Google Docs with your mobile phone, this guide is for you.
For this, you will have only one option and that is method number 2 ‘table tool’. Follow the below steps to perform the whole process.
Step 1 – Open the Google Docs app on your Android mobile.
Step 2 – On the top, you will see a ‘+’ icon, click on it and then click on the ‘table’ option.

Step 3 – After clicking on the table, select 1*1 table and press ‘insert table’.
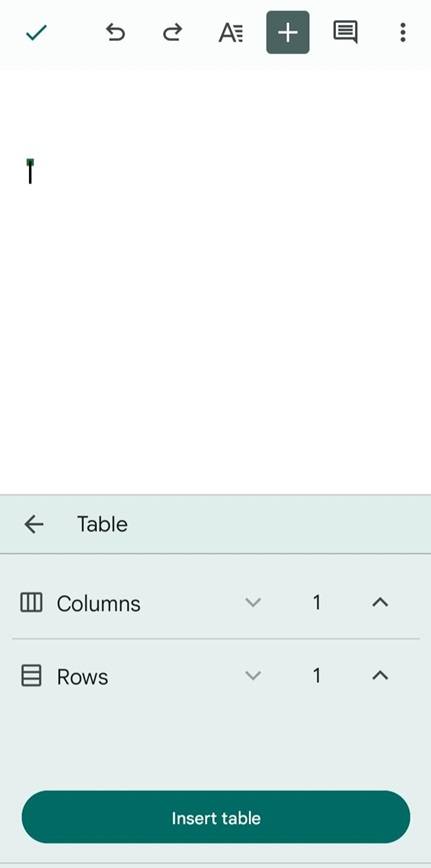
Step 4 – Click on the top of the table and enter the text you want to.
Step 5 – After entering the text, press Enter, and you are done.
Like other methods, with this method too, you can customize the color, font, and style of the text as well as the background.
Conclusion
Text boxes enhance the visual appeal of a doc file and make it more likable and engaging for readers. So, our step-by-step guide on how to insert a text box in Google docs and insert text boxes easily in your doc files.
FAQs
Can I customize the text box in Google Docs?
Of course, you can. No matter which method you choose to insert a text box in Google Docs, you have full flexibility to customize the text according to your needs. From color to design and font to formatting, you can customize everything.
How can I delete a text box if I need to?
Deleting a text box in Google Docs is really easy. All you need to do is to select the text box and then press the ‘backspace’ key. That’s it. Just in case you have deleted a text box by mistake, you can use the undo button or press control+z to get it back.
Can I move the text box from one place to another?
Yes, while using Google Docs, you can move the text box easily from one place to another. Simply, drag it and place it anywhere you want.